
You’ve written a blog post for your website. The topic is on-point, the picture you picked is perfect, you have edited and re-edited every sentence, and you have posted it on your website.
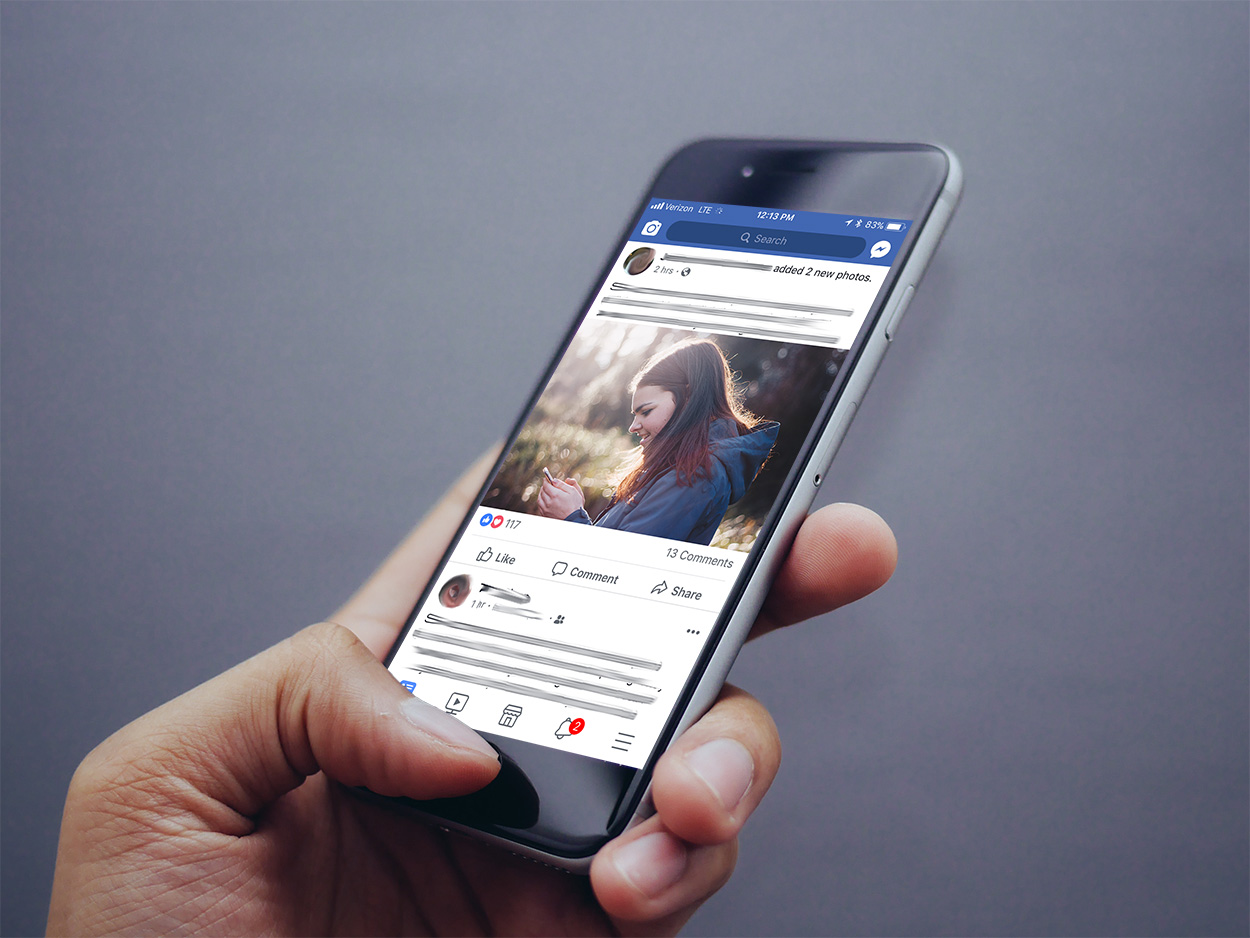
Of course, with a post that amazing you want to share it on Facebook. You write a great post to catch your potential readers attention and add the link to your blog. Instead of that perfect picture you picked to accompany your wonderful writing you get a box with a title and text, not the most eye-catching thing to promote your blog.
So, where does the picture on Facebook come from?
The short answer, Facebook is pulling in the Featured Image for that page/post from your website. The technical answer is that, if your website specifies a featured image in the meta tags for the page you are sharing, Facebook will use that image. If your website does not specify a featured image, Facebook will usually grab the first available image on the page.
Did you know that you can actually tell Facebook which image to post for your article? If you have a WordPress website, it only takes a few quick steps. 
Featured Image
First things first you need to set a Featured Image for the blog you are sharing. The Featured Image (AKA post thumbnail) is a feature that WordPress has for allowing a representative image to be set for pretty much any place on your site you may want to share on Facebook (like a new blog).
Depending on how your site was built this can move around, but it is usually in the editing mode of the post somewhere below or to the side of the text field. On the custom websites that we have built this is always on the right-hand side of the page below the categories and tags sections. You can select any photo from your media library or upload one special. Make sure to optimize your photos before adding to the site – we recommend 1200 by 630 pixels for best result on Facebook.
Facebook Debugging
Once you have set the Featured Image you will want to check to make sure Facebook is showing what you want it to. Because Facebook cache’s images of website pages to make loading times quicker this is recommended anytime you change the Featured Image.
There is a special tool that lets you do this, you can find it here.
Just put the URL for the page/blog in the empty field and select the “debug” button.
If the URL has never been shared on Facebook (common with new blog posts) you will need to tell it to “Fetch new information” by clicking the button that appears.
Don’t see your new picture?
If this is an old page/post it may show you an old picture or no picture at all. If that is the case, you can select the “Scrape Again” button. This will tell Facebook to go look for new information at the website instead of falling back on their cached images.
We encourage using this feature to make your post on Facebook pop and drive website visits!


